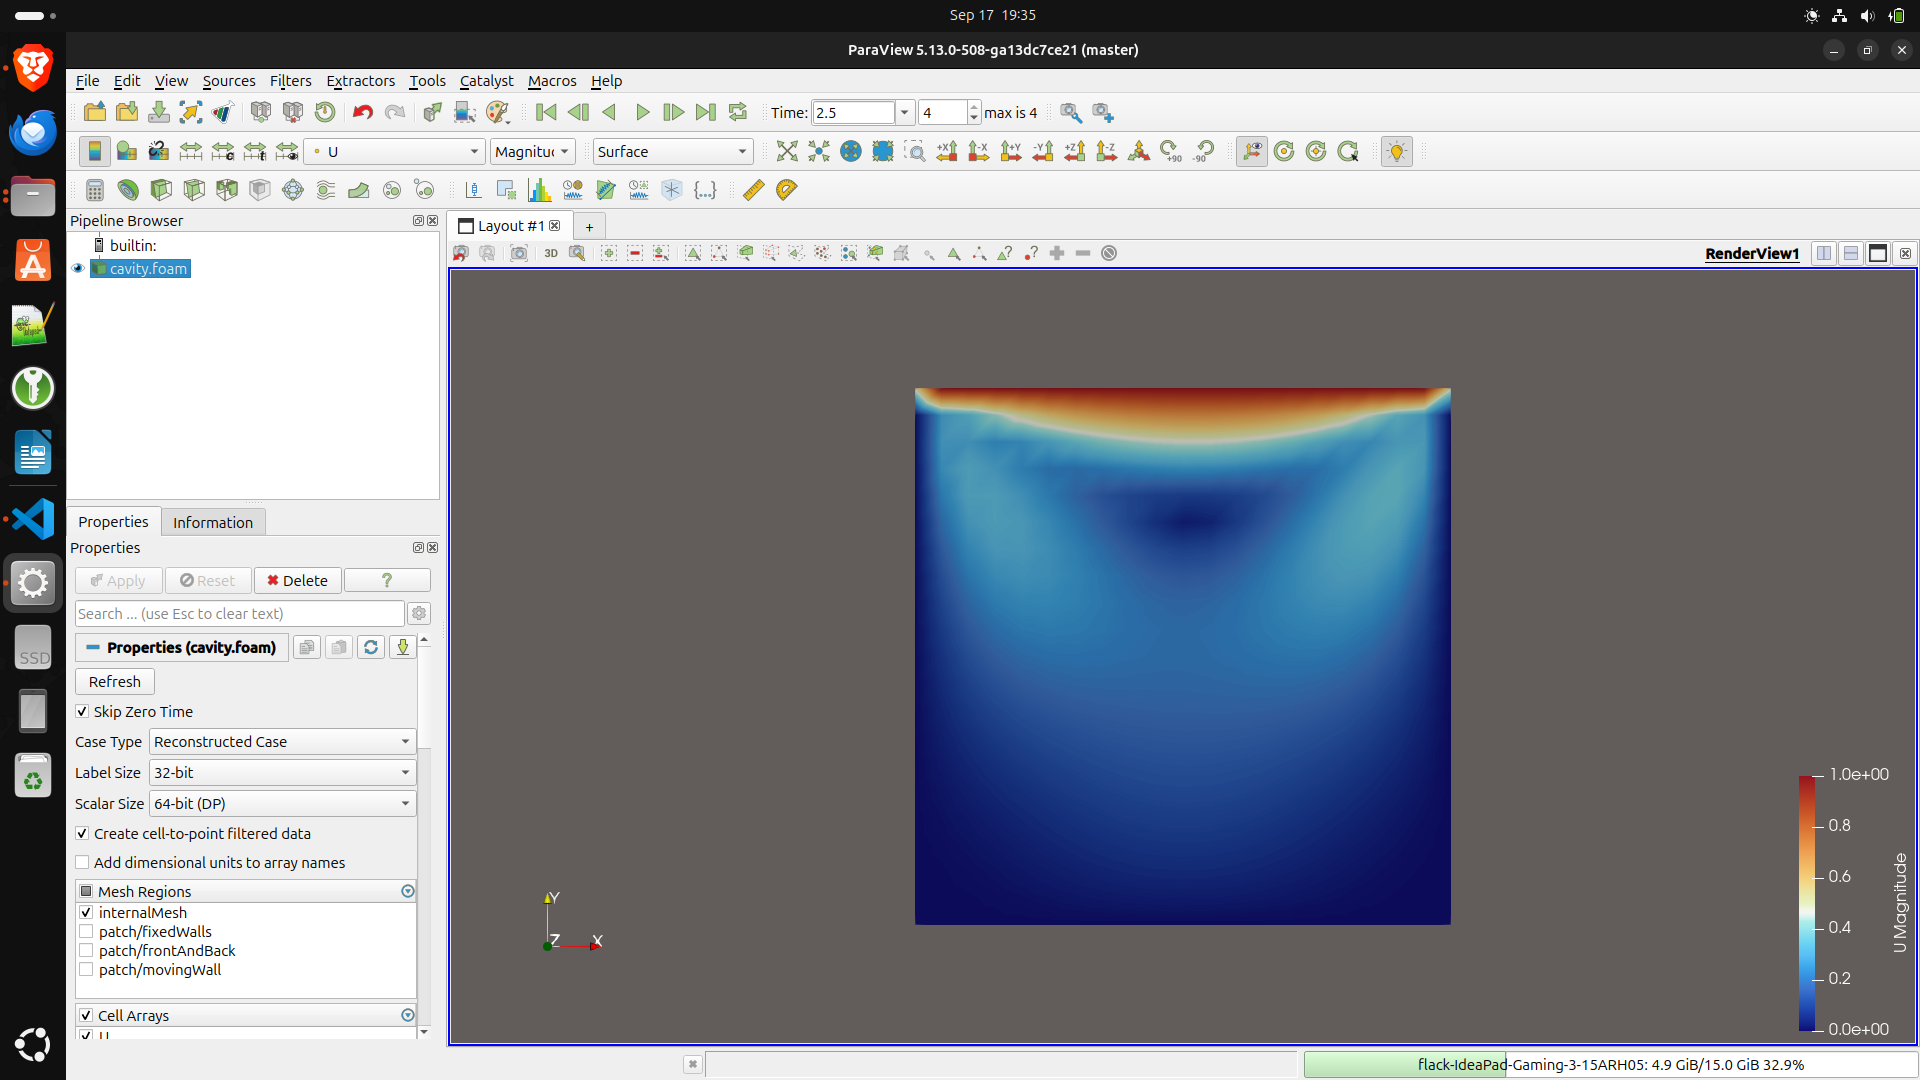
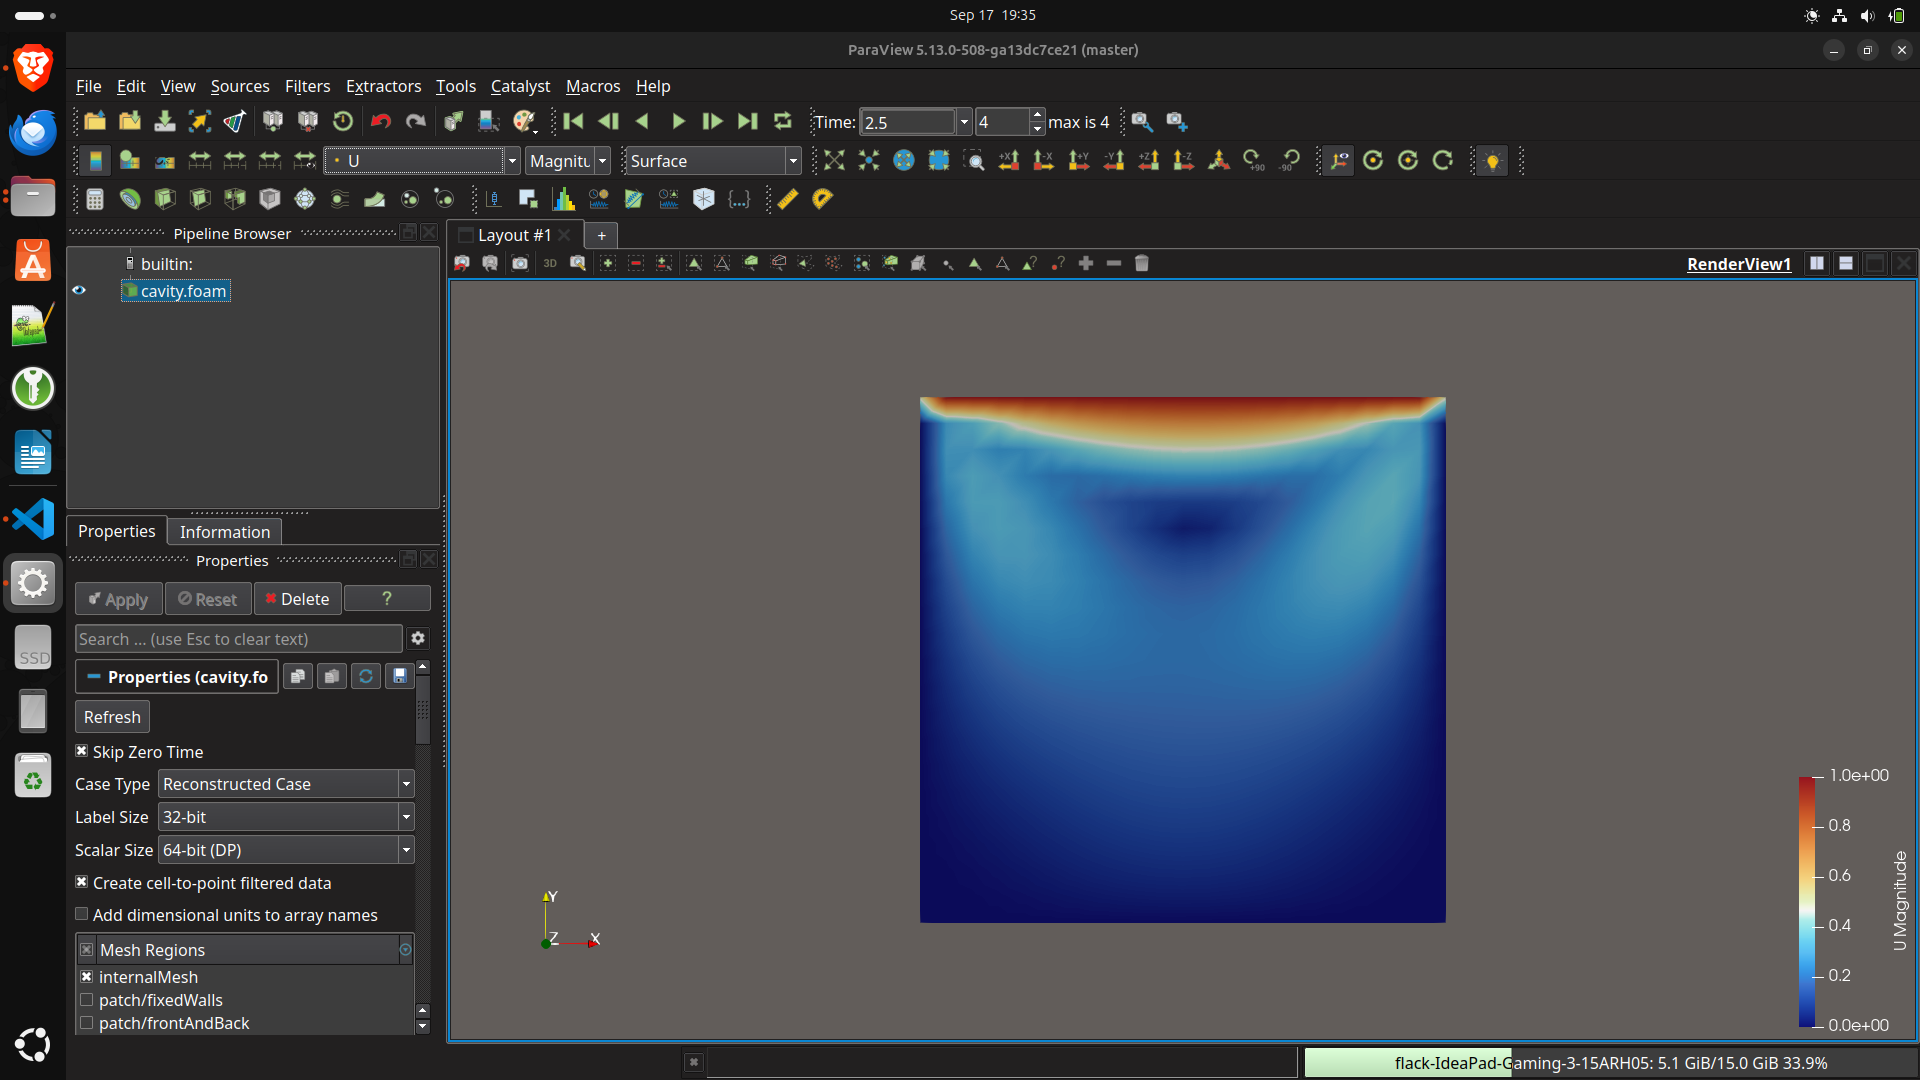
ParaView Installation
Installation of ParaView v5.13.0 on Ubuntu 24.04 LTS and Windows 11.
Introduction
In this post, I will go through the installation process of ParaView-5.13.0 on Windows 11 and Ubuntu 24.04 LTS.
ParaView is a wonderful open-source tool for data post-processing. Despite being an open-source project, it is a true competitor to other proprietary data visualization tools. It offers a user-friendly GUI and well-written documentation. It can be used effortlessly for everyday data post-processing, but you can go further and automate your post-processing workflow using the Python shell, which is also included in the ParaView GUI. Additionally, you can even run this tool in parallel on an HPC cluster.
ParaView on Win 11
I would not recommend installing ParaView via WSL. The easiest way to get ParaView working on Windows 11 is to download the zip file of binaries fow Windows from paraview.org/download. You will have two options for downloading. For example, in the case of version 5.13.0, you will find the following zipped binaries:
- ParaView-5.13.0-Windows-Python3.10-msvc2017-AMD64.zip,
- ParaView-5.13.0-MPI-Windows-Python3.10-msvc2017-AMD64.zip.
The MPI version is intended for running ParaView in parallel. Initially, you will be completely fine with the version without MPI
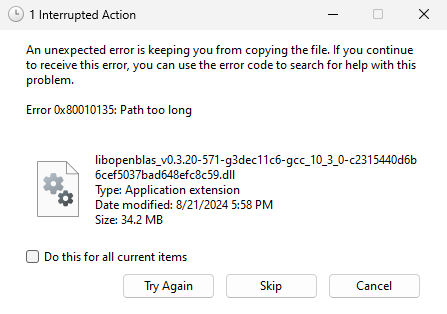
Place the zip file in a location with a short file path and unpack it. However, you may still encounter the error “Path too long.”
Path too long error
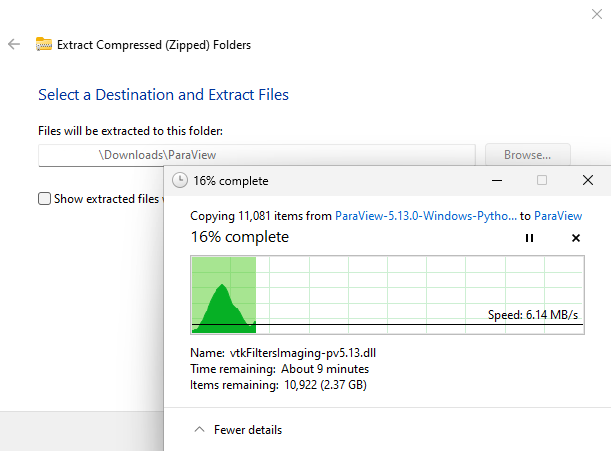
In that case, rename the destination folder where the files will be extracted from the default zip file name to something shorter, such as “ParaView”.
Extract destination
After you successfully extract the zip file, navigate to the “bin” folder inside the unzipped directory and run “paraview.exe” as an administrator. If the blue “Windows protected your PC” window pops up, click on “More info” and then on “Run anyway”.
Did Windows protected your PC?
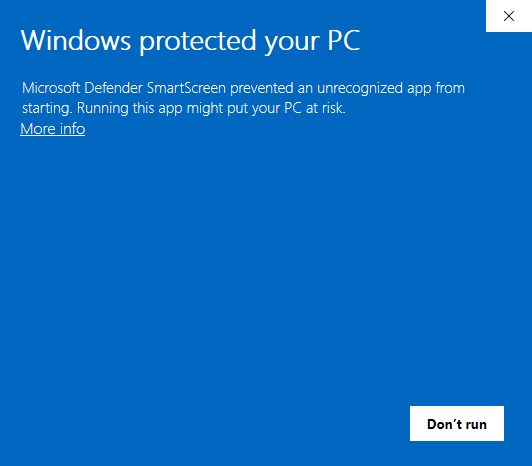
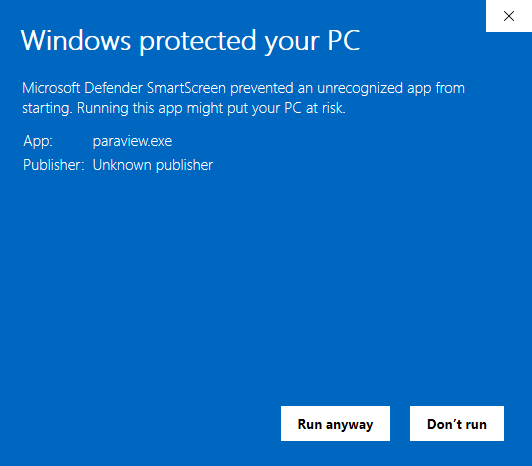
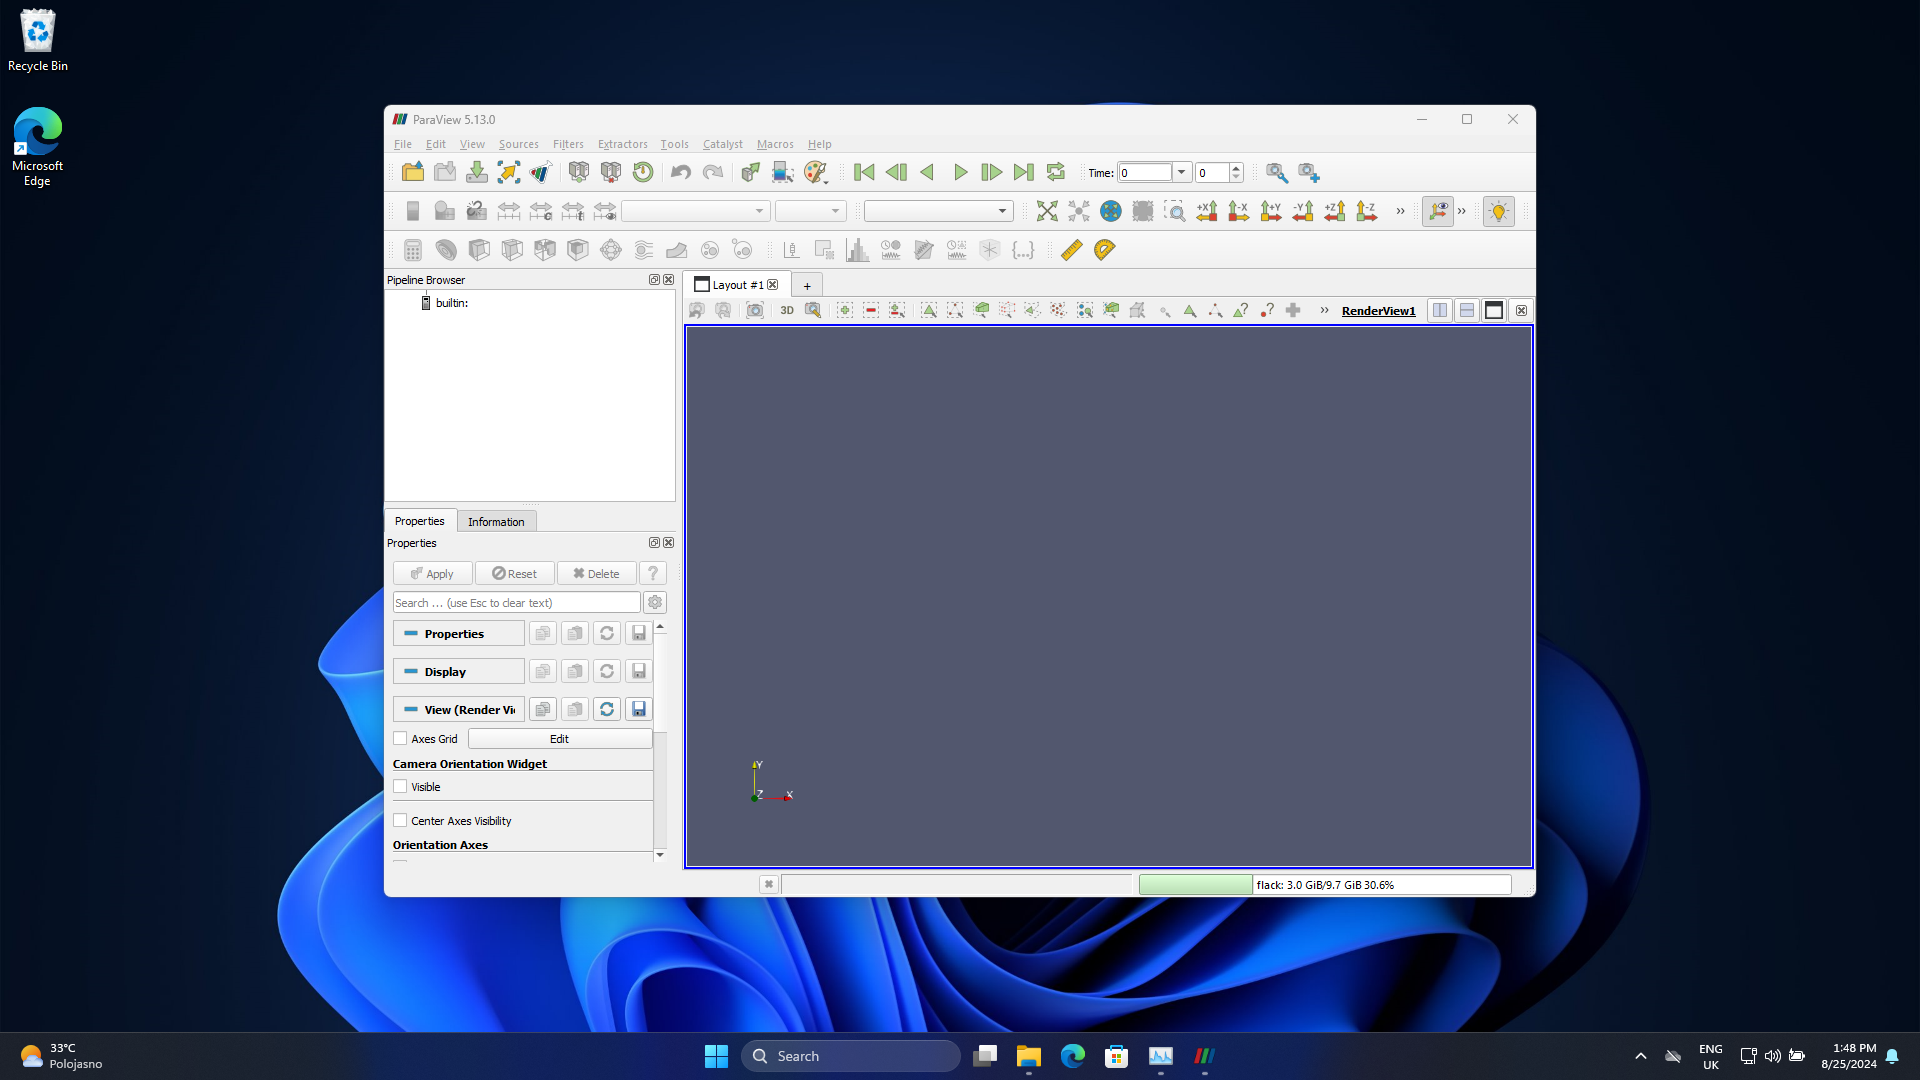
You should now be able to run ParaView.
ParaView on Win
ParaView Install on Ubuntu
App Center
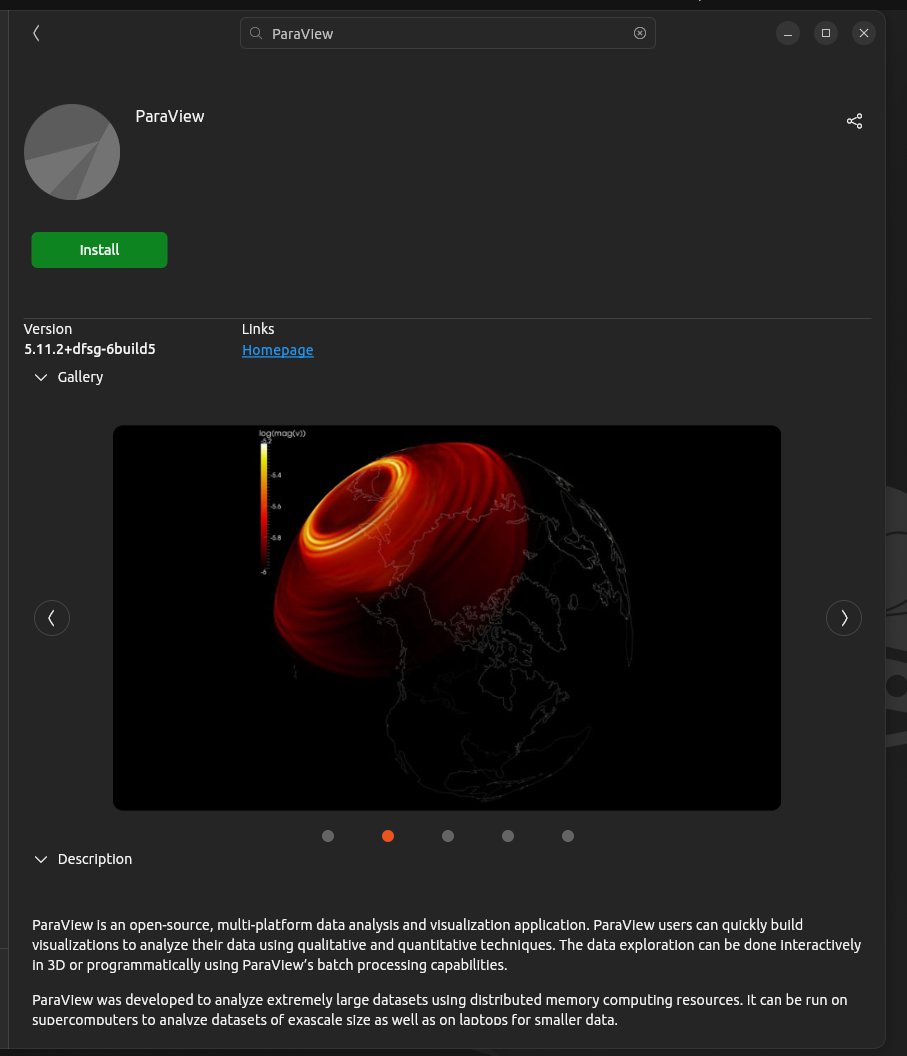
Probably the most easier way how to install ParaView on Ubuntu would be to install it from Ubuntu App Center. Unfortunatelly there are some drawbacks on this approach. There are is not available the newest version of ParaView and you cannot choose whether MPI will be enabled or not, or any other further options as enabling CUDA and so on.
Regarding the ParaView version, the current release is v5.13.0 and in App Center you will find only 5.11.2 release. The same situation is when you will install paraview via apt.
sudo apt install paraview
Newer version can be installed from Flathub.
App Center and Flathub
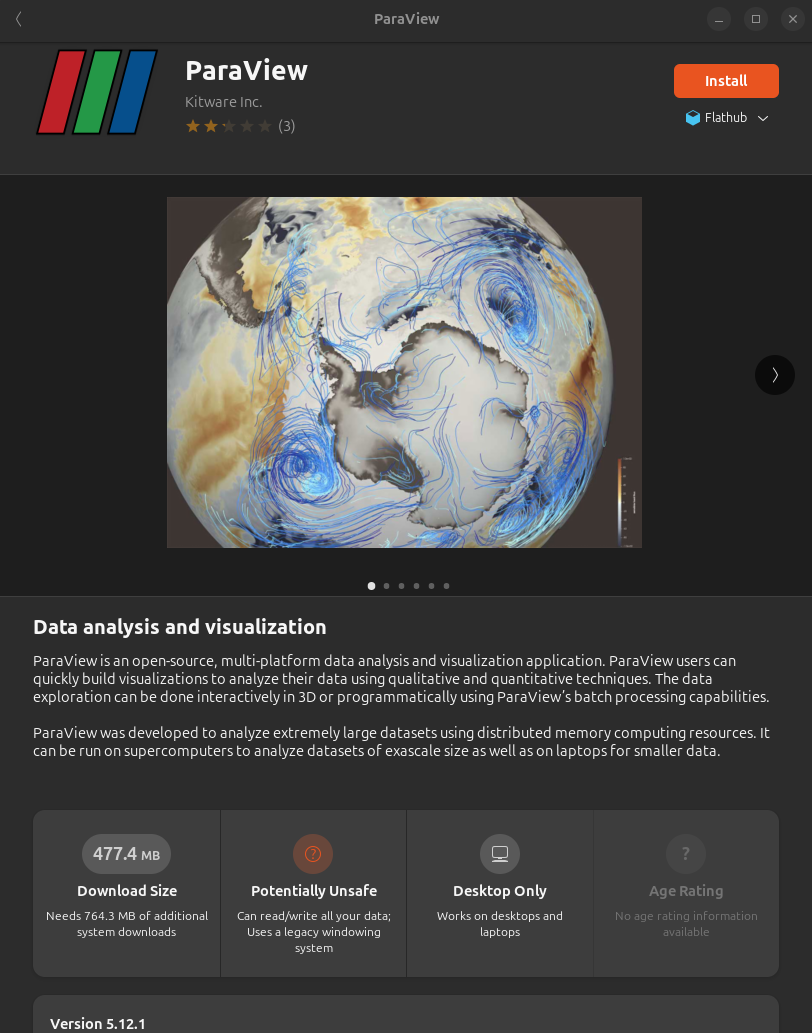
I probably wouldn’t recommend this option, as it is not even an official way to get ParaView. These packages are probably not even directly maintained by Kitware, which isn’t necessarily a bad thing, but if you encounter any problems with the installation and need to ask for help on the ParaView discourse, you will likely be directed to download ParaView from their website or GitHub (or GitLab) anyway, which is understandable.
Binaries
You can download a compressed archive of the binaries for Linux from paraview.org/download. Ideally, you should unzip the .tar.gz file, navigate to the bin folder, and execute the paraview executable file.
GUI ParaView Run
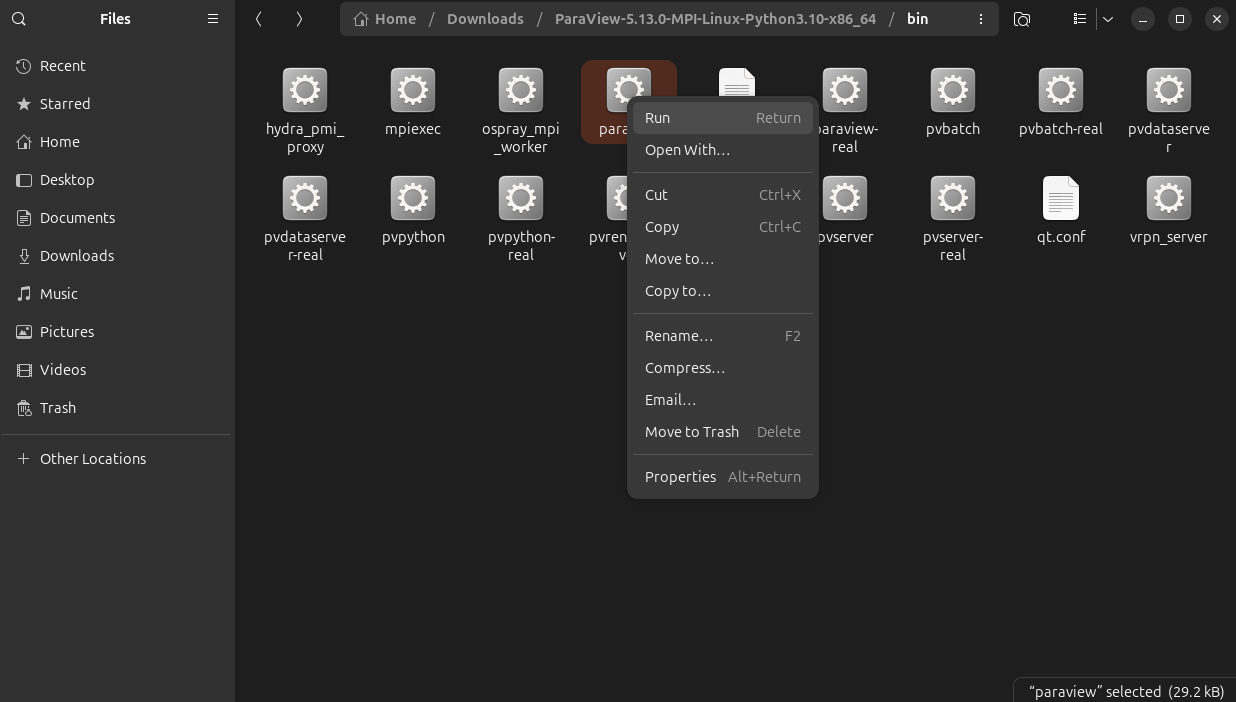
If you attempted to run it via the GUI by double-clicking on the “paraview” file (or right-clicking and selecting “Run”), and nothing happened, try running it via the terminal. While this may not resolve the issue, it will show you an error message.
Simply navigate in therminal to that directory where is “paraview” executable and run it.
./paraview
Running ParaView via terminal

On Ubuntu 24.04 LTS I have received this error:
qt.qpa.plugin: Could not load the Qt platform plugin “xcb” in “ “ even though it was found. This application failed to start because no Qt platform plugin could be initialized. Reinstalling the application may fix this problem.
Available platform plugins are: xcb.
error: exception occured: Subprocess aborted
If we search in the ParaView Discourse FAQ, we find a solution to this error, which involves installing the xcb packages
sudo apt install libxcb-xinerama0 libxcb-xinput0
This solved the mentioned error, and it was possible to successfully run ParaView v5.13.0.
ParaView from binaries on Ubuntu

Build from source
ParaView provides well-written steps on how to build it from source code, which can be found on GitHub or GitLab. The Getting Started compilation guide is especially user-friendly and a good starting point, so we will follow it.
First of all, we’ll need to install all the necessary dependencies for building.
sudo apt-get install git cmake build-essential libgl1-mesa-dev libxt-dev libqt5x11extras5-dev libqt5help5 qttools5-dev qtxmlpatterns5-dev-tools libqt5svg5-dev python3-dev python3-numpy libopenmpi-dev libtbb-dev ninja-build qtbase5-dev qtchooser qt5-qmake qtbase5-dev-tools
We can create a folder named ParaView and clone the GitHub repository into it.
git clone https://gitlab.kitware.com/paraview/paraview.git
Next, create a folder where ParaView will be built.
mkdir paraview_build
Then, change the working directory to the cloned repository.
cd paraview
We will switch to the point where the repository was tagged as v5.13.0.
git checkout tag v5.13.0
git submodule update --init --recursive
Move to our build directory.
cd ../paraview_build
Here, we can finally build the chosen version of ParaView.
cmake -GNinja -DPARAVIEW_USE_PYTHON=ON -DPARAVIEW_USE_MPI=ON -DVTK_SMP_IMPLEMENTATION_TYPE=TBB -DCMAKE_BUILD_TYPE=Release ../paraview
ninja
Dark Mode
If you built ParaView from source code, there is an easy way to enable the dark theme
sudo apt install qt5ct
It is also necessary to properly set the environment variable QT_QPA_PLATFORMTHEME to qt5ct. You will likely need to log out and log back in to the system (or restart) for qt5ct to work correctly.
echo "export QT_QPA_PLATFORMTHEME=qt5ct" >> ~/.profile
Depending on the styles already installed, it is also possible that you won’t have many to choose from. In my case, I had only two: Windows and Fusion.
Initial state of qt5ct
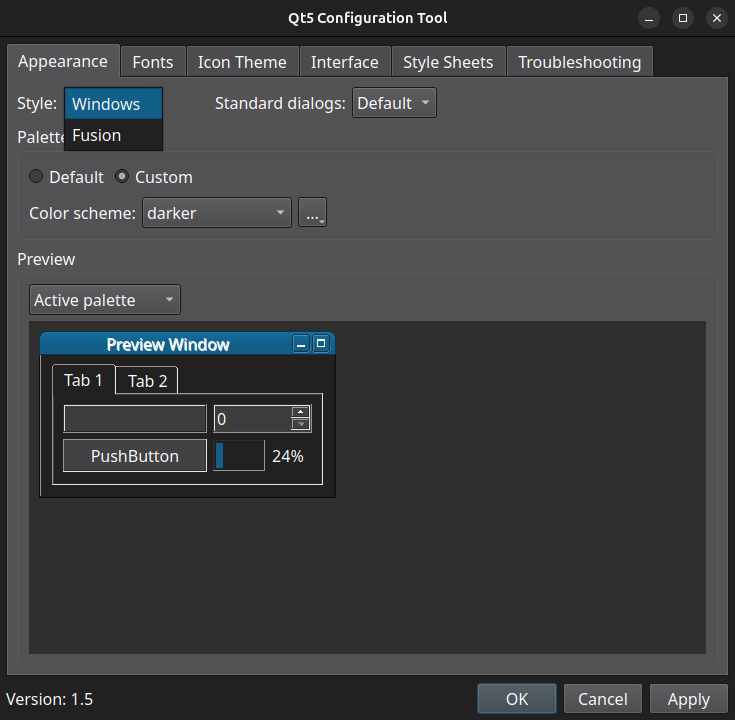
More styles can be obtained by installing qt5-style-plugins.
sudo apt install qt5-style-plugins
After installing qt5-style-plugins
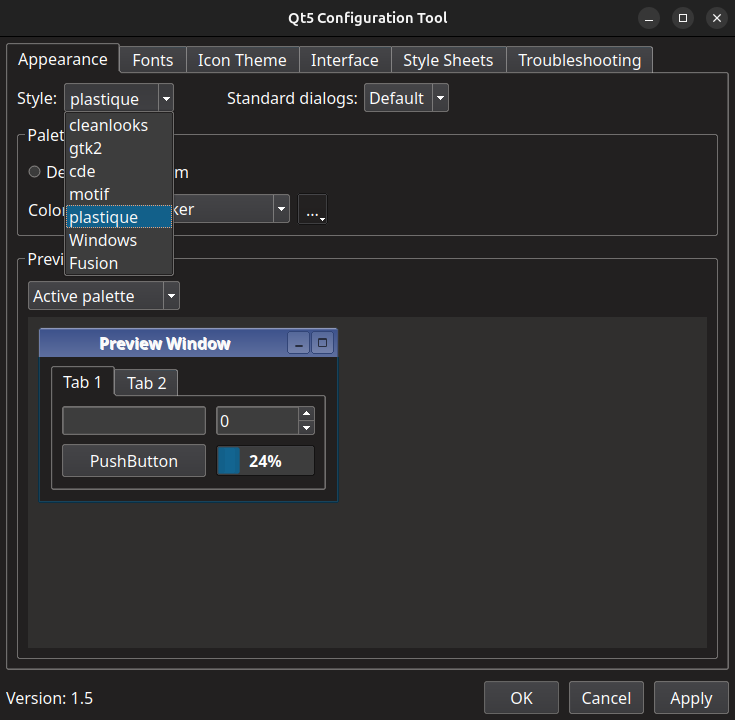
The comparison between the initial style and dark mode can be seen below.
